


No matter what field of photography the average college student is into, knowing how to take basic head shots is very important. Why you may ask? Simple portraits of people are widely used in the corporate world. Our school IDs, driver’s licenses and passports all have head shots to identify who we are.
Light is an essential element in photography. Knowing how to manipulate lighting when taking pictures is a skill that all photographers need to know.
The following are three great ways you can manipulate lighting when taking head shots. These techniques will maintain a simple setup and allow you to achieve excellent quality within our images.
1) High contrast lighting
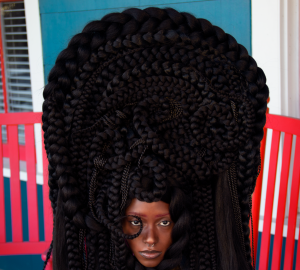
For this kind of lighting setup, you want to obtain darker shadows and lighter highlights. To achieve this effect is simple. All you need is one softbox to the left or right of the person and let the light source be a bit close to their face. The soft box allows a softer light to brighten the scene. If you want to bounce back light onto the shadows so the unlit side of the face isn’t in complete darkness, I highly recommend a silver sided reflector.
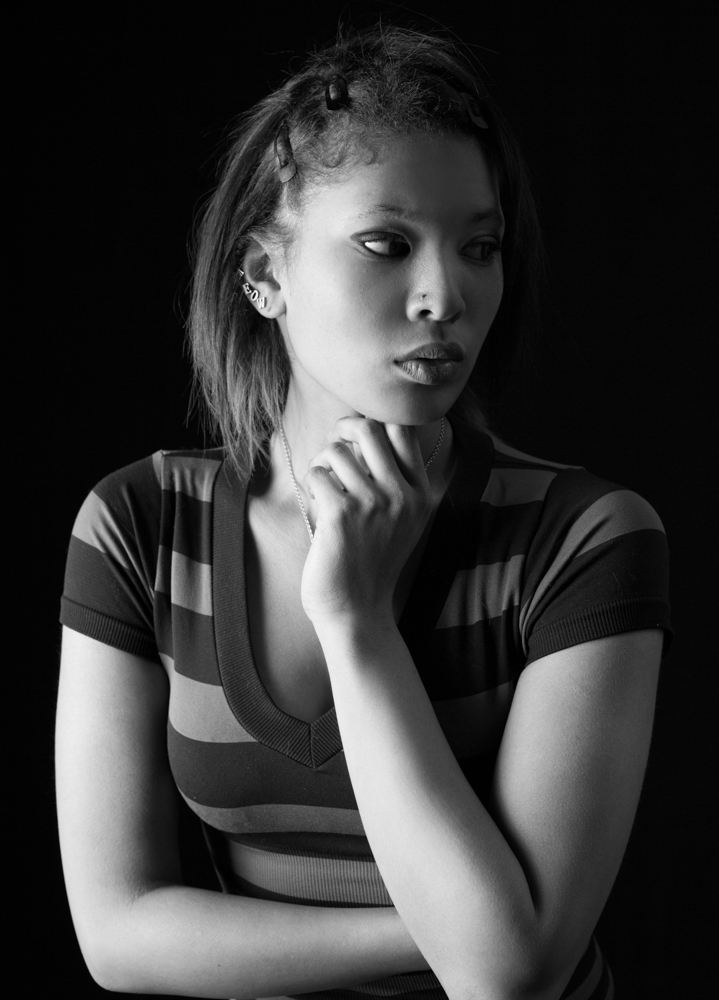
For this technique, these tools were used:
– Profoto softbox 3’x4’
– 48’’ silver/white reflector
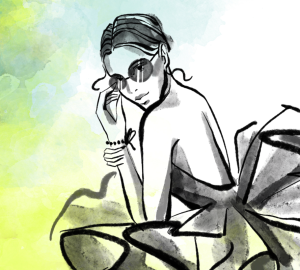
2) Even light
Creating this lighting is achievable by using just one beauty dish. You can try it out with or without the diffuser cloth over the dish. Keeping the diffuser cloth on will result in a softer light while excluding it will give a harsher light. You will want to obtain an even projection of light on the model’s face. So ensure that the beauty dish is placed directly above and in front of the model.
A reflector may be placed below the model’s chin to kick back some light onto the shadows as well.
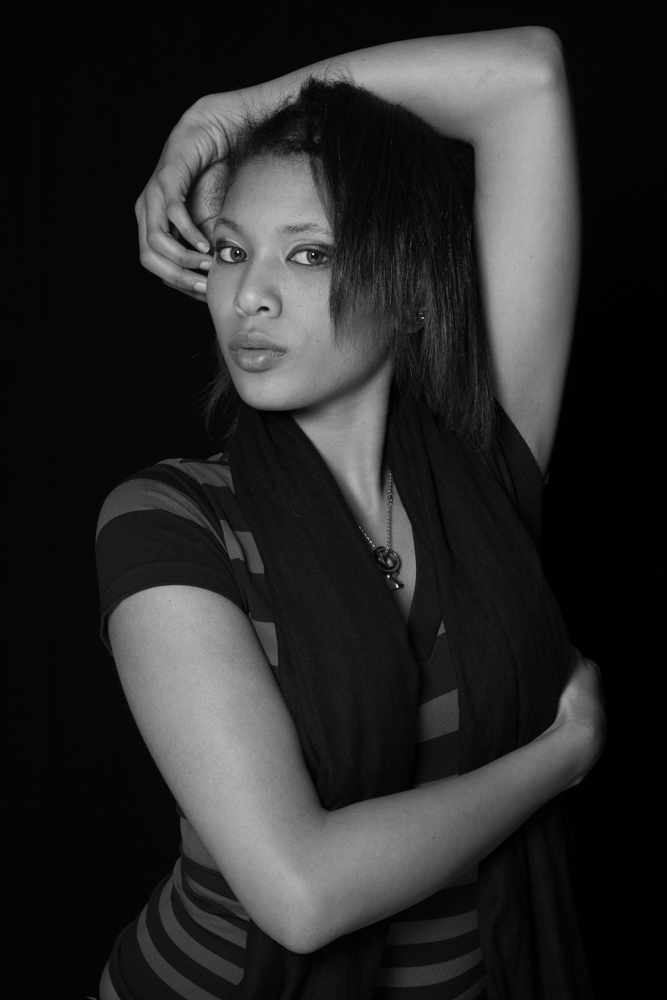
For this technique, these tools were used:
– Broncolor beauty dish (white)
– 48’’ silver/white reflector
3) Three point lighting
This technique requires three sources of light. It might seem complex at first, but I promise it will be as simple as the rest. It requires a main light, a fill light and a rim light. These lights play different roles that are essential in achieving great depth in your images. The main light is angled to the left or right of the model’s face. This source of light will be the brightest since it will be the predominant light source. The fill light is placed on the opposite side to fill in some of the shadows the main light will cause. Fill lights are lower than the main light in this cause. The rim light is used to individually light the model’s hair and/or their shoulders. Instead of using another softbox for the rim light, natural light from a window was used.

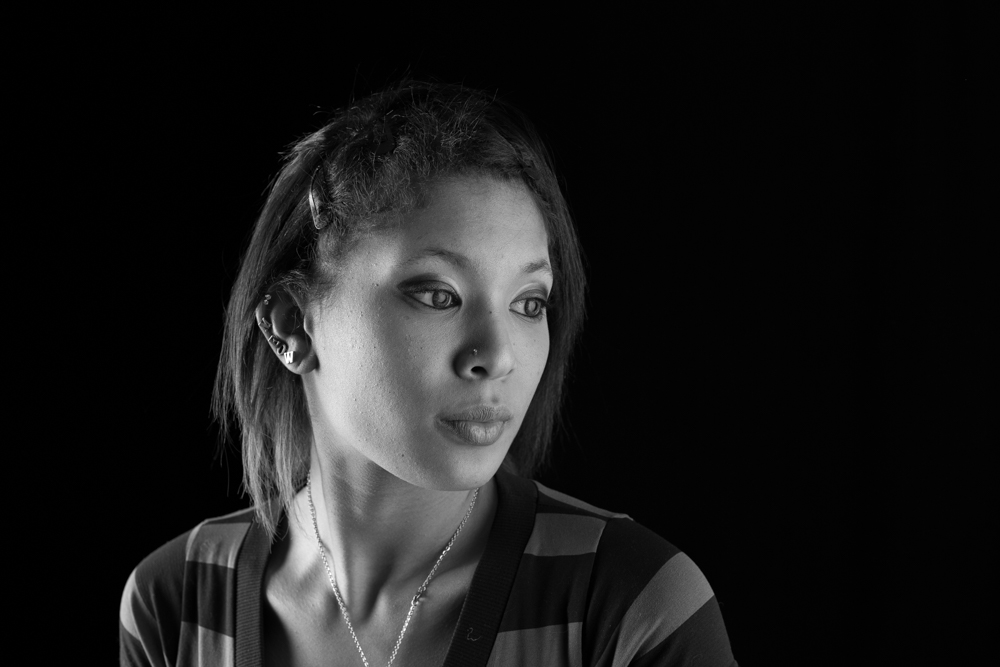
For this technique, these tools were used:
– Profoto softbox 3’x4’ (x2)
– Natural sunlight from a window
Experiment with these three techniques and see which ones you get the best results with. SCAD Connector would love to see the images you make from these techniques. Feel free to email them to photo@scadconnector.com. If you have questions or concerns, send them over as well.